All Alumni, Faculty, Newsroom, MBA, Dean, and Press Release articles live under Posts, which is called the Newsroom on the front-end.
Example Post (you must first be logged into WordPress to view this private post) : https://business.wisc.edu/news/example
On This Page:
*More detailed editing instructions, as well as a training video, can be found in the Add/Edit Blog Posts article. We recommend you start there if you are new to using our WSB WP site.
Newsroom Landing Page - Featured News
To update the featured newsroom content (shown in the purple box in the screenshot below), submit your content changes to the web team via a web ticket.
Featured News Top Story (featured news hero block)
UPDATE 3/2023 - If the main image for the featured story has text, is a collage, or generally doesn't work for the hero block on the News homepage, the web team can upload a different image just to display in the hero spot on this page.
- Web team - for the Newsroom hero image: check the "override featured image" field and add/upload the new image
Add a New Post
See detailed directions for editing blog posts - the information below only pertains to Newsroom articles.
Add Your Text Content
When pasting text from your original document to WordPress, be sure to paste as plain text. This ensures no random formatting code gets copied into WordPress.
Keyboard shortcuts:
- For Windows - Ctrl+Shift+V
- For Macs - Cmd+Shift+V
Categories
- In the right menu, uncheck Uncategorized and pick the one category this article falls under
- Category options: School News, Faculty Insights, Alumni in Action, Student Experience, Dean's Corner, Press Releases
- Note: we have a standard set of News categories. Do not add a category unless you have prior approval to do so.
Tags
- In the right menu, add your tags, make sure they are from the tag list and spelled/capitalized exactly as listed
Uploading Images
- Every image must have alt text. Please add it to existing images that are missing it. Learn more about alt text for images.
- Be sure to upload new images to the Blogs > Newsroom media library folder in WP.
- We can add more folders inside Newsroom (by year or by category) if you want to add more organization.
Adding Blocks (optional)
Tip for adding blocks
Click the + sign in your post, then use the keyword "newsroom" to view most of the best blocks for News posts.
Where is the + sign? Hover your cursor between paragraphs or to the right side, below the last content in your post, to make this button appear.
Aside Callout
- Guidelines:
- Use to display a small amount of copy and an optional, small image (a headshot or icon) next to the post content.
- Use the top-most text fields
- Top level text goes in the "headline" field, even if it isn't a heading (e.g. person's name can go here)
- If you have 2 levels of content, use the top two fields (headline and subtitle). Only use the 3rd field if you have already filled in the first two levels.
- Aside blocks are meant to be used with a very small amount of copy, ~100 characters or fewer.
- Asides should be used sparingly in a single article – use 3 asides max.
- If using more than one aside, they should be separated by at least one paragraph.
- The aside block cannot be the last item in your post (this will push it down to overlap the footer content and mess up formatting on the page)
- Move it above some of the copy to fix this issue
- Be sure to preview your article to make sure there are no formatting issues
- How to edit/use asides in your article
Callout Box
- Guidelines:
- Use a single callout box at the end of an article to display sidebar/endbar content
- Content should not exceed 125 words.
- Options:
- background color
- image + alignment
- crop the image to a circle
- heading + alignment
- button + alignment
|
|---|

Full-width Background
- Please reach out to a designer or web developer for assistance implementing this block.
- A designer can help with appropriate image choices
- A web developer can help ensure the content you have works with this block and that web accessibility standards are met (e.g. text color contrasts with the background and is readable)
- Guidelines:
- Use this block sparingly (i.e. don't use it in most articles you write)
- This block doesn't work with all images; it works best with large images with a subtle focus or subject (see example below).
- Limit the amount of copy in this block – think pull quote length, rather than a full paragraph or more.
- Options:
- background can be a color pattern or an image
source: |
|---|
Horizontal Image Text
- Guidelines:
- Use this to display an image next to text.
- Works best with a vertical image (an image with a height greater than its width)
- Make sure to preview your article when using this block; you may need to change how much copy you place next to the image or choose a different size for the image to make the content heights as even with each other as possible
- e.g. it doesn't look good to use a tall image with only a sentence of copy and you wouldn't want to put three paragraphs next to an image that doesn't take up a lot of space
- Options:
Image Collage
- Guidelines:
- Use for 2 or 3 images you want to display next to each other.
- Options:
- Layout
- For 2 images use the side-by-side layout
- For 3 images choose the staggered or stacked layout
- Layout
|
|---|
Image block
- Guidelines:
- Use to display 1 image in your post
- How to add an image block

Lazy Load Youtube Video
- Guidelines:
- Use this block anytime you want to embed a Youtube video in your post.
- Do not use the "Youtube" block – that block displays videos at a much smaller size and they take longer to load on the page, which could create problems for the user.
- Use this block anytime you want to embed a Youtube video in your post.
- How to embed YouTube videos in your article

Pullquote
- Guidelines:
- Use this block to display a quote.
- The quote text will be large and red – do not change the formatting or color of the text.
- Quote will be centered and it will be wider than the post content above and below it (unless it is a short quote).
Meta fields
Find these under the post content, within Meta - post field group
Byline Options
- You can add a Subtitle to the post. It will appear directly below the title.
- You can add an Author Override if needed. If you do not credit an author under Author Override, your post's byline will credit the selected author in the upper right-hand side of the editor.
- You can credit the photographer(s) under Photography Credit.
Example - Byline options
| Post appearance
|
|---|


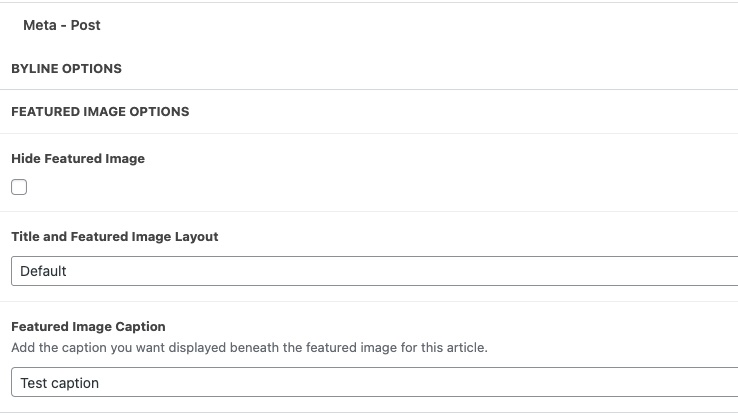
Featured Image Options
- You can add a Featured Image. This image is pulled with the article title to display on any pages that list news articles in cards (such as the Newsroom page page).
- While the featured image can be added in the right side menu, the featured image options are found in the meta - post field group.
- Options include:
- Hide featured image - Yes or No (if checked, the next two fields will be hidden)
- Title and Featured image layout - 3 options: Default, 50-50 split, or Full-width image
- Image caption - field will only appear if featured image is not hidden and default layout is selected
- Options include:
- While the featured image can be added in the right side menu, the featured image options are found in the meta - post field group.
Examples - Featured Image Options
| Post appearance - Default
|
|---|---|
Post appearance - Full-width image
| Post appearance - 50-50 split
|


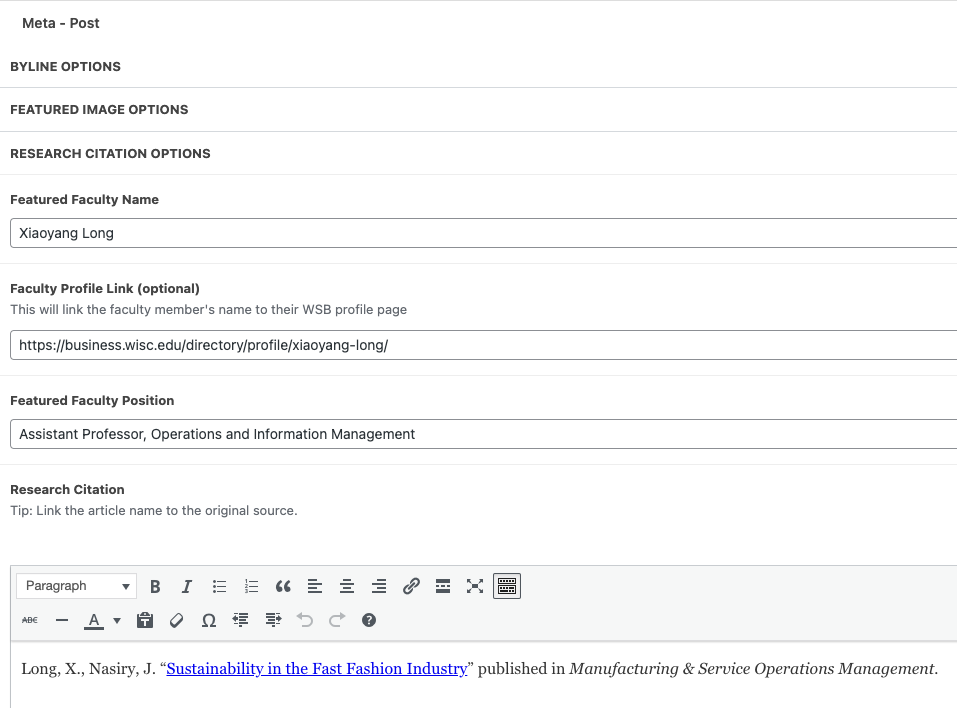
Research Citation Options
Display featured faculty and their research at the end of your article
- Add the faculty name (first and last)
- Optional: add a link to the faculty profile page (e.g. https://business.wisc.edu/directory/profile/faculty-member-name )
- Add the faculty's position
- Add the citation for the research mentioned in the article
- Tip: link the article name to the source
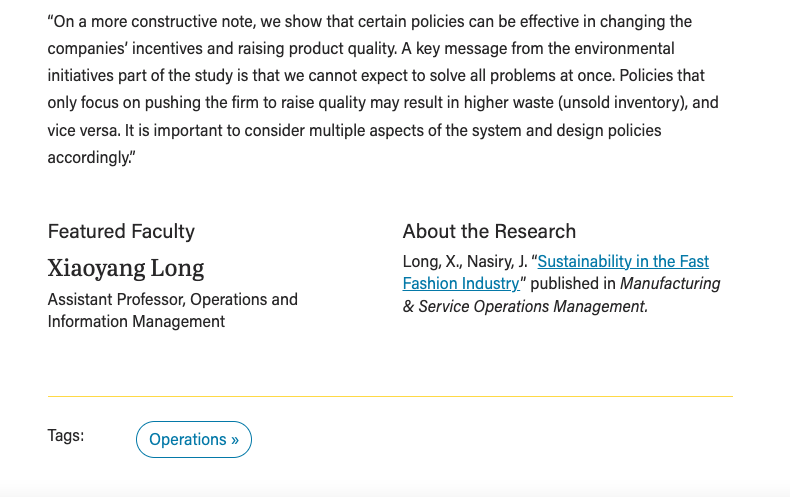
Example - Research Citation Options
| Post appearance
|
|---|
Related Stories
- Under Related Posts, you can search for and manually select three posts to display under "Explore More Stories", below the article.
- The posts you have selected will appear to the right of the list of posts
- Tip: Select taxonomy drop-down allows you to search for posts with a specific category or tag.
- If you don't select any posts, WP will automatically choose 3 recent posts with similar categories/tags.
Example - Related Stories
| Post appearance
|
|---|


SEO
SEO stands for Search Engine Optimization
- SEO information is populated for you based on the article title and an excerpt from the beginning of the article.
- You can edit SEO information if desired (or if that is the standard set for the newsroom)
- Below your post content in the editor, you can edit SEO details in the Yoast SEO Premium section

- You can remove the pink "Title" block and replace with a shortened title.
- You can change the URL by editing the Slug – it is best to do this before publishing the post so we don't end up with a broken link for a previously published post.
- Each post's slug must be unique, so be sure the slugs you choose are long enough that it won't result in duplicates.
- You can add a meta description if desired.
- There are two color bars that indicate whether the length of your SEO title and meta description are good, okay, or too long. Avoid the red bar indicating your content is too long here.
Edit an Existing Blog Post
- Navigate to your blog in the left menu.
- Find the post you want to edit in the list of posts or search for it. Click on the name of the post to edit.
- Make your changes and be sure to click Publish in the top right corner to make those changes live.
For Website Launch
Updating Categories
- The new categories were added to WordPress. I was able to rename some old categories, which re-categorized some posts, but that didn’t capture all of the posts. And I was afraid to do too much because I didn’t want to categorize something improperly, so you need to make sure each post has the correct category. I left some of the old categories in case it’s helpful, but those should get deleted before site launch.
- Go to Posts in the left menu. In the same left menu, you'll see Categories listed under Posts. Click Categories to see all the current category options. To see which articles have that category, click the number,
Updating Tags
- You need to tag all the articles with the new set of tags.
- Suggestion: Go to Posts in the left menu. In the same left menu, you'll see Tags listed under Posts. Click Tags to see all the current tags. Find something that is close to the new tag that has a lot of posts and rename it to the new tag. That whole set is done. For other ones that need that tag, you will have to go into them one by one.