All Alumni, Faculty, Newsroom, MBA, Dean, and Press Release articles live under Posts, which is called the Newsroom on the front-end.
Example Post (must be logged into WordPress to view): https://business.wisc.edu/news/example
Featured News
To update the featured newsroom content (shown in the purple box in the screenshot below), submit your content changes to the web team via a web ticket.

Featured News Top Story (featured news hero block)
In some cases, the main image for the featured story needs to be cropped differently for the featured news hero on the Newsroom page.
- For the Newsroom hero image
- Add the image as the Featured Image for the news post
- For the main article image
- Add an image block to the top of the article content (on a new line in the editor, type "/image" OR click the plus button and search for image to select the image block)
Add a New Post
see detailed directions for all blog posts
Categories
- In the right menu, uncheck Uncategorized and pick the one category this article falls under
- Category options: School News, Faculty Insights, Alumni in Action, Student Experience, Dean's Corner, Press Releases
Tags
- In the right menu, add your tags, make sure they are from the tag list and spelled/capitalized exactly as listed
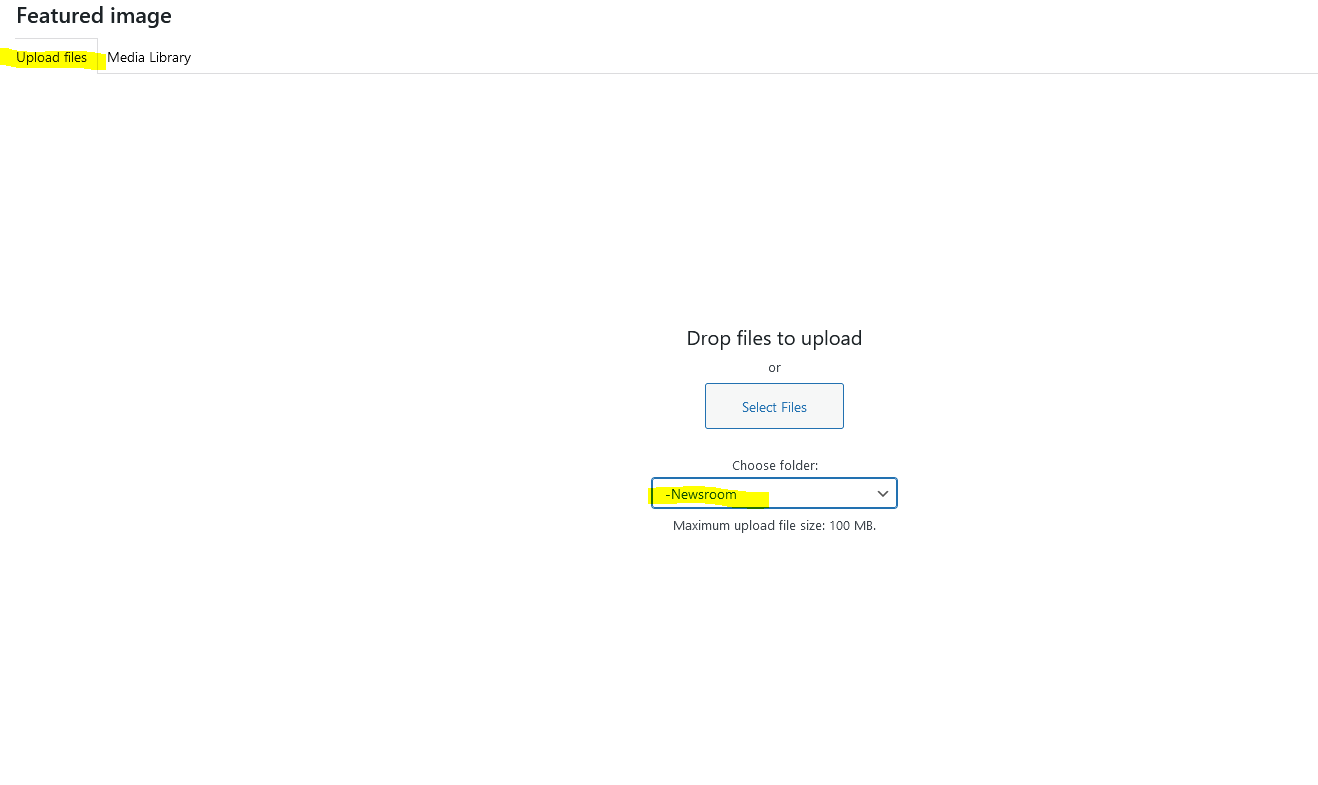
Images
- Every image must have alt text. Please add it to existing images that are missing it.
- Be sure to upload new images to the Blogs > Newsroom media library folder in WP.
- We can add more folders inside Newsroom (by year or by category) if want to add more organization.
SEO
- SEO information is populated for you based on the article title and an excerpt from the beginning of the article.
- You can edit SEO information if desired (or if that is the standard set for the newsroom)
- Below your post content in the editor, you can edit SEO details in the Yoast SEO Premium section

- You can remove the pink "Title" block and replace with a shortened title.
- You can change the URL by editing the Slug – it is best to do this before publishing the post so we don't end up with a broken link for a previously published post.
- Each post's slug must be unique, so be sure the slugs you choose are long enough that it won't result in duplicates.
- You can add a meta description if desired.
- There are two color bars that indicate whether the length of your SEO title and meta description are good, okay, or too long. Avoid the red bar indicating your content is too long here.
Related posts
- You can select which articles display under related content at the bottom of the blog post. If you don't select them, they will be the three most recent posts from your blog with the same category.
- Under "Meta" below your main post content, you will find "Related Posts"
- You can search for the title of the related post on the left side or you can narrow down to a certain tag or category by clicking on "Select taxonomy"
Edit an Existing Blog Post
- Navigate to your blog in the left menu.
- Find the post you want to edit in the list of posts or search for it. Click on the name of the post to edit.
- Make your changes and be sure to click Publish in the top right corner to make those changes live.
For Website Launch
Updating Categories
- The new categories were added to WordPress. I was able to rename some old categories, which re-categorized some posts, but that didn’t capture all of the posts. And I was afraid to do too much because I didn’t want to categorize something improperly, so you need to make sure each post has the correct category. I left some of the old categories in case it’s helpful, but those should get deleted before site launch.
- Go to Posts in the left menu. In the same left menu, you'll see Categories listed under Posts. Click Categories to see all the current category options. To see which articles have that category, click the number,
Updating Tags
- You need to tag all the articles with the new set of tags.
- Suggestion: Go to Posts in the left menu. In the same left menu, you'll see Tags listed under Posts. Click Tags to see all the current tags. Find something that is close to the new tag that has a lot of posts and rename it to the new tag. That whole set is done. For other ones that need that tag, you will have to go into them one by one.