-
Created by
 Vanessa Taulbee, last updated by Erica McConnaughey on Jun 20, 2025
6 minute read
Vanessa Taulbee, last updated by Erica McConnaughey on Jun 20, 2025
6 minute read
This guide assumes you have access to the WSB YouTube (YT) account.
Request Access to WSB YouTube Account
If you don't have access, submit a web ticket asking the Web Team to grant you permission to upload videos to the WSB YouTube Channel.
- Our YT channel is managed via a Google Brand account. You will receive an email from Google My Business when your access has been granted; accept this invitation. You can ignore the second email from this sender, as it won't take you directly to YT.
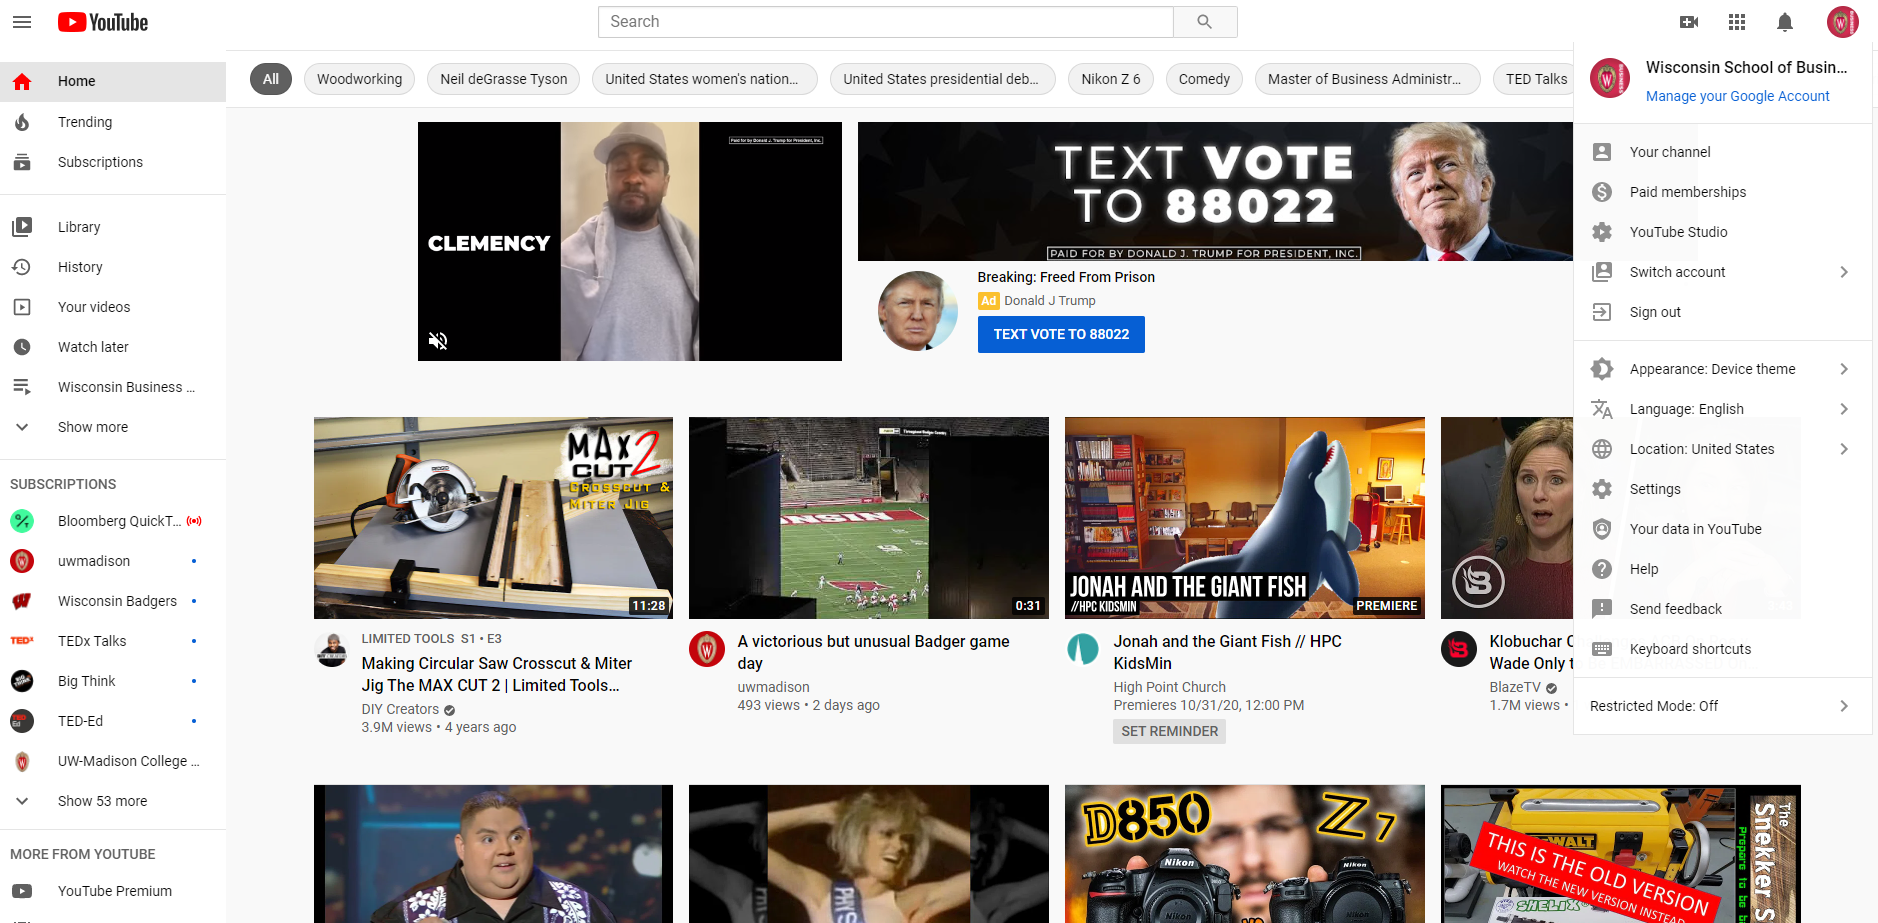
Login to YouTube
- Go to www.youtube.com
- Login with your wisc.edu email address. You should be prompted to sign in with the Duo 2 factor authentication app.
- Select the WSB YT account.
Navigate to YouTube Studio
To edit, upload, or create new content on the YouTube channel, you will need to:
- Be logged into the WSB YT account. (see directions above)
- Click the user profile button in the upper right corner of the browser.
- Select "YouTube Studio" from the menu or navigate to studio.youtube.com

Edit Your Video/Podcast (before uploading to YT)
- Listen to the podcast audio and ensure it meets our Video Creation, Editing Guides and Best Practices
- Create a podcast slide image using the PowerPoint template provided and update copy as needed. Export as a jpeg in a 16x9 format.
- Ensure it is 1280 x 720 pixels .jpg.
- Using Camtasia (download Camtasia from Campus Software Library) create an MP4 video using the audio and the thumbnail as the background.
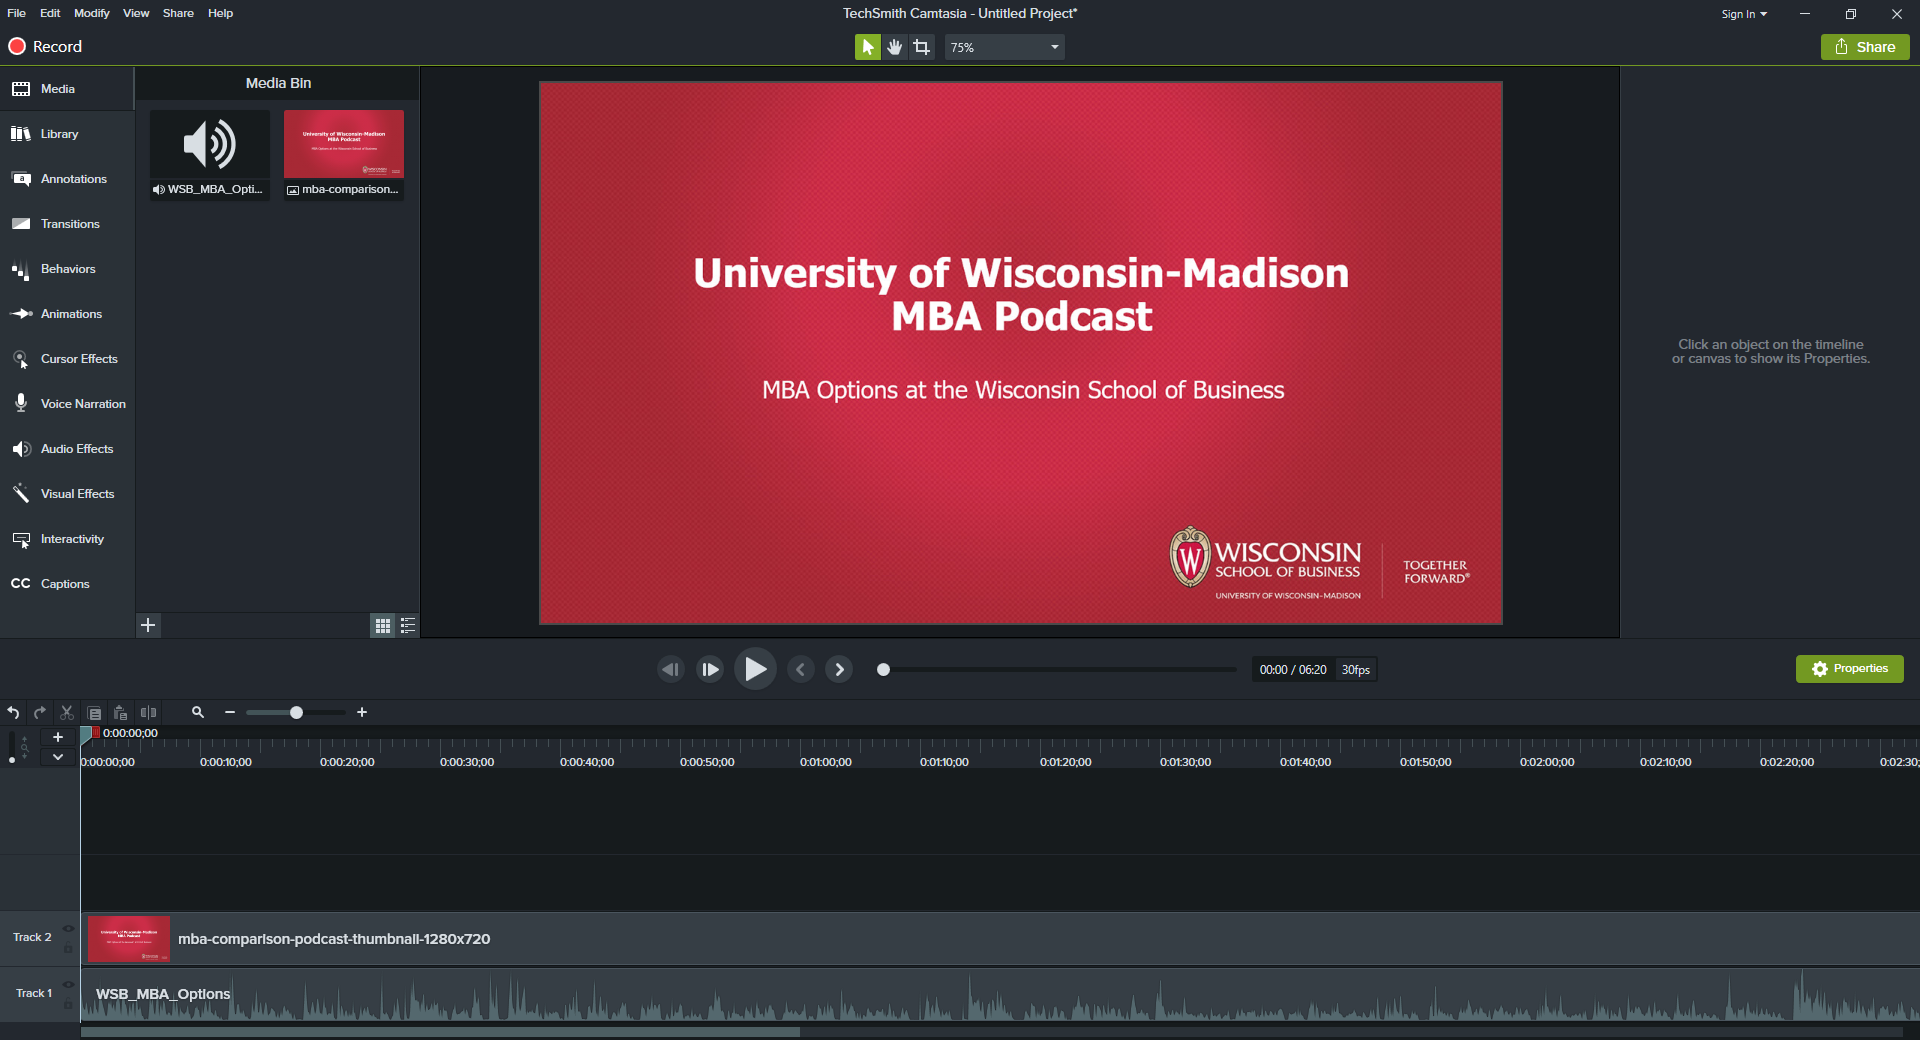
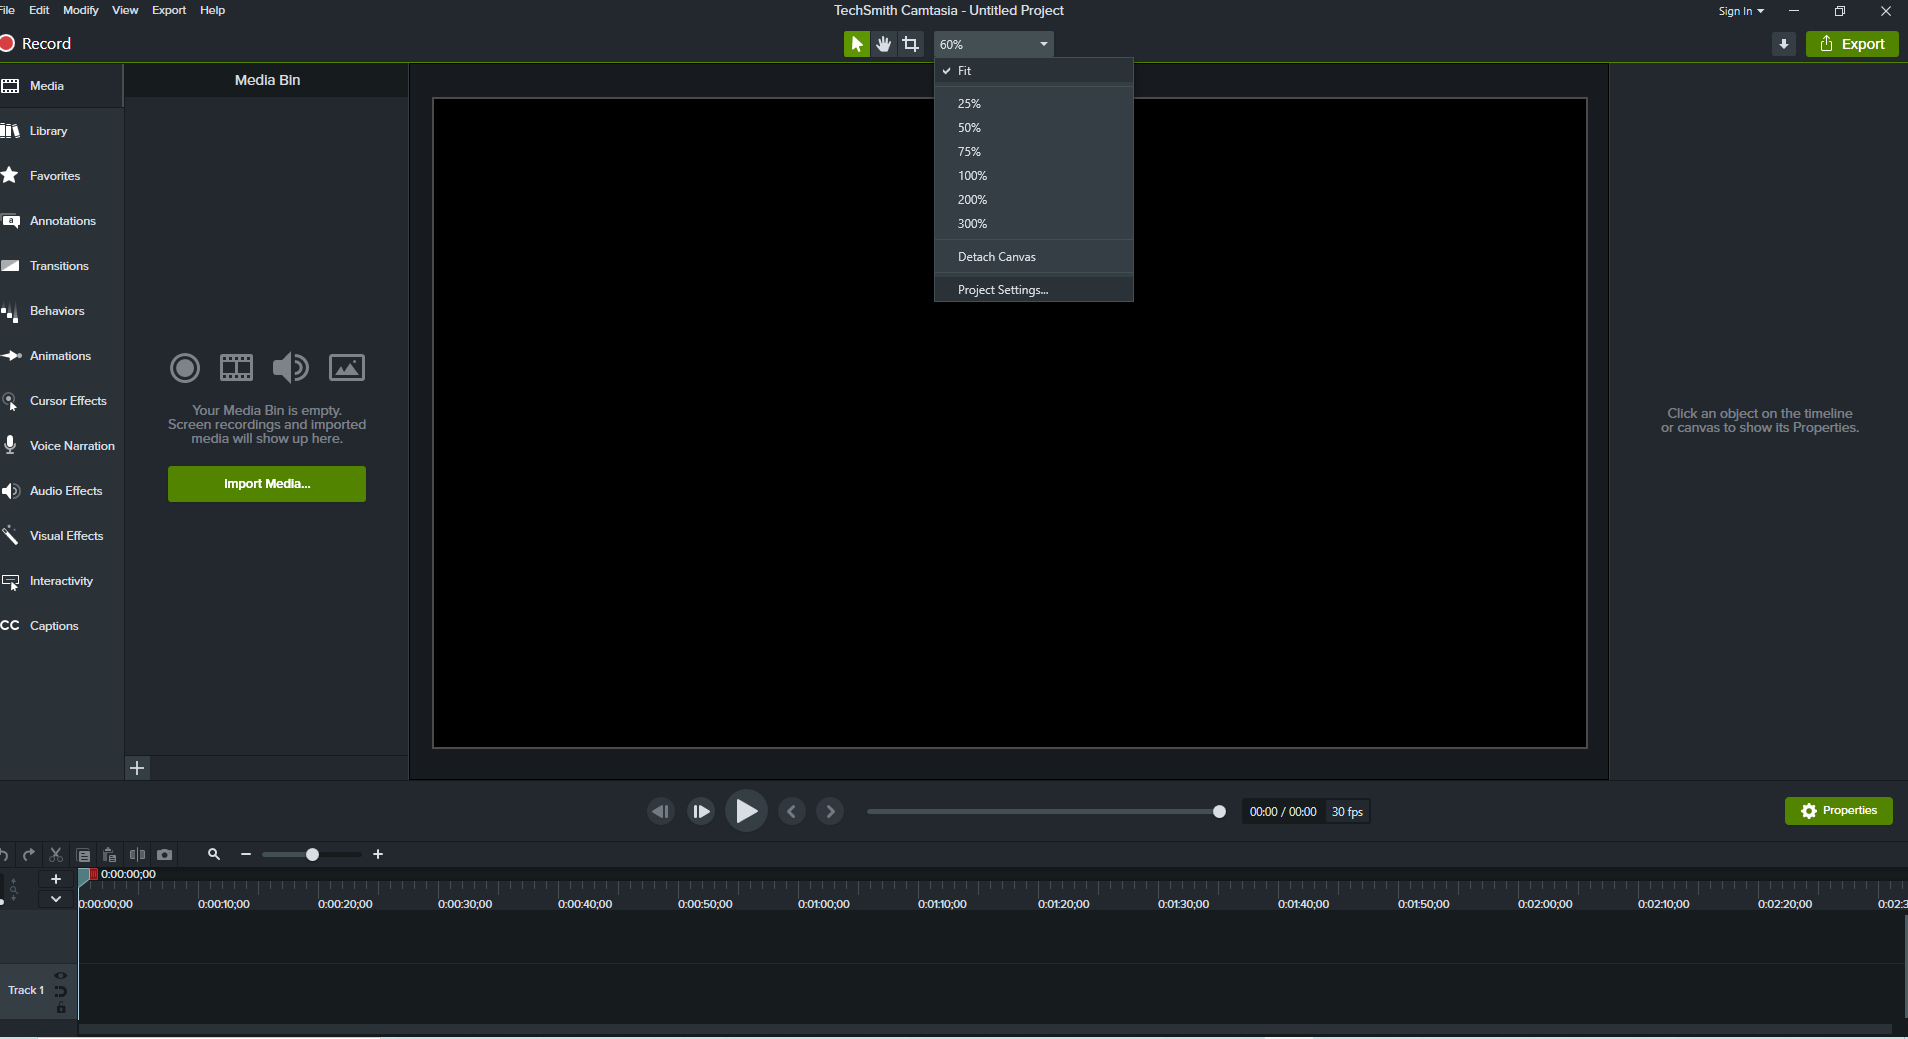
- Open Camtasia and click “File” in the top menu and then “New Project”.
- For 2020 versions: Click on the Canvas Options dropdown menu in the top middle of the screen and select Project Settings. Click on Canvas Dimensions dropdown menu and select 720p HD (1280x720).
- Drag and drop the audio file into Track 1 section at bottom. Ensure the audio is placed flush left and starts at 0.00.00.00.
- Drag and drop the slide image jpeg into Track 2 section at bottom. Ensure the image is placed flush left and starts at 0.00.00.00.
- Determine where audio stops by clicking and dragging right edge of audio slider box to the left. (You can preview the sound by hitting the play button in the middle.)
- If an audio fade out is desired, click “Audio Effects” in the left sidebar. Click “Fade out” and drag and drop into the audio file in Track 1. You will see a dot at the end of the audio sliderbox. Click and drag the dot to the left to induce the fade. You will see the audio scale begin to shrink as you drag to the left. Careful to only drag horizontally and not up or down. (Keep at 100%)
- Drag the right edge of the image slider box to the right to match the length of the audio slider box.
- You can edit the video to remove sections from the audio by moving the slider to the beginning of the section and then move the red slider to the end. Then you right click the highlighted section and select cut.
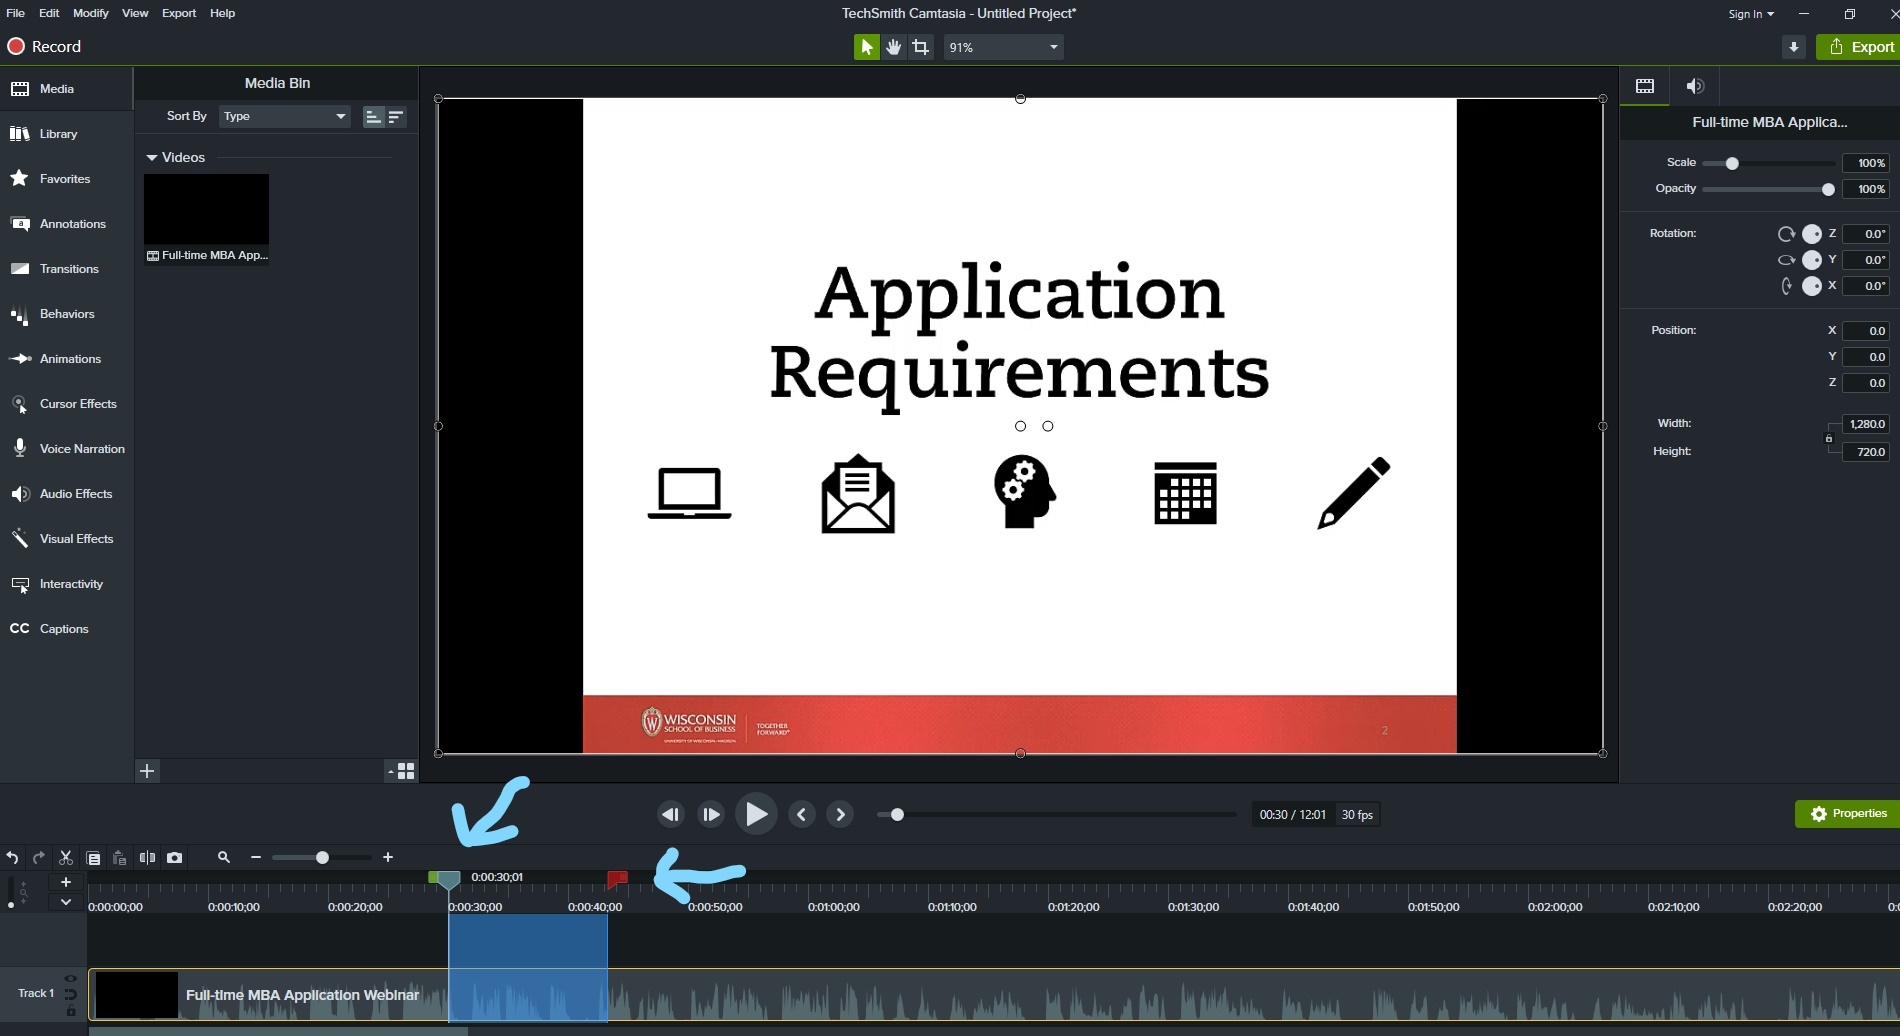
- You can preview the video by hitting the play button in the middle. Listen to it at least once to make sure there are no issues.
- Once you are satisfied with the video, export it as an MP4
- Click "Share"(2019 version) or "Export"(2020 version) from the top menu bar and select "Local File"
- Select "Custom production settings" from the dropdown and click "Next"
- Select MP4 as the file format
- Size > Video Size 1280 x 720
- (Checked) Keep Aspect Ratio
Upload Your Video to YouTube
- Login to the WSB YT channel (see directions above)
- Navigate to studio.youtube.com
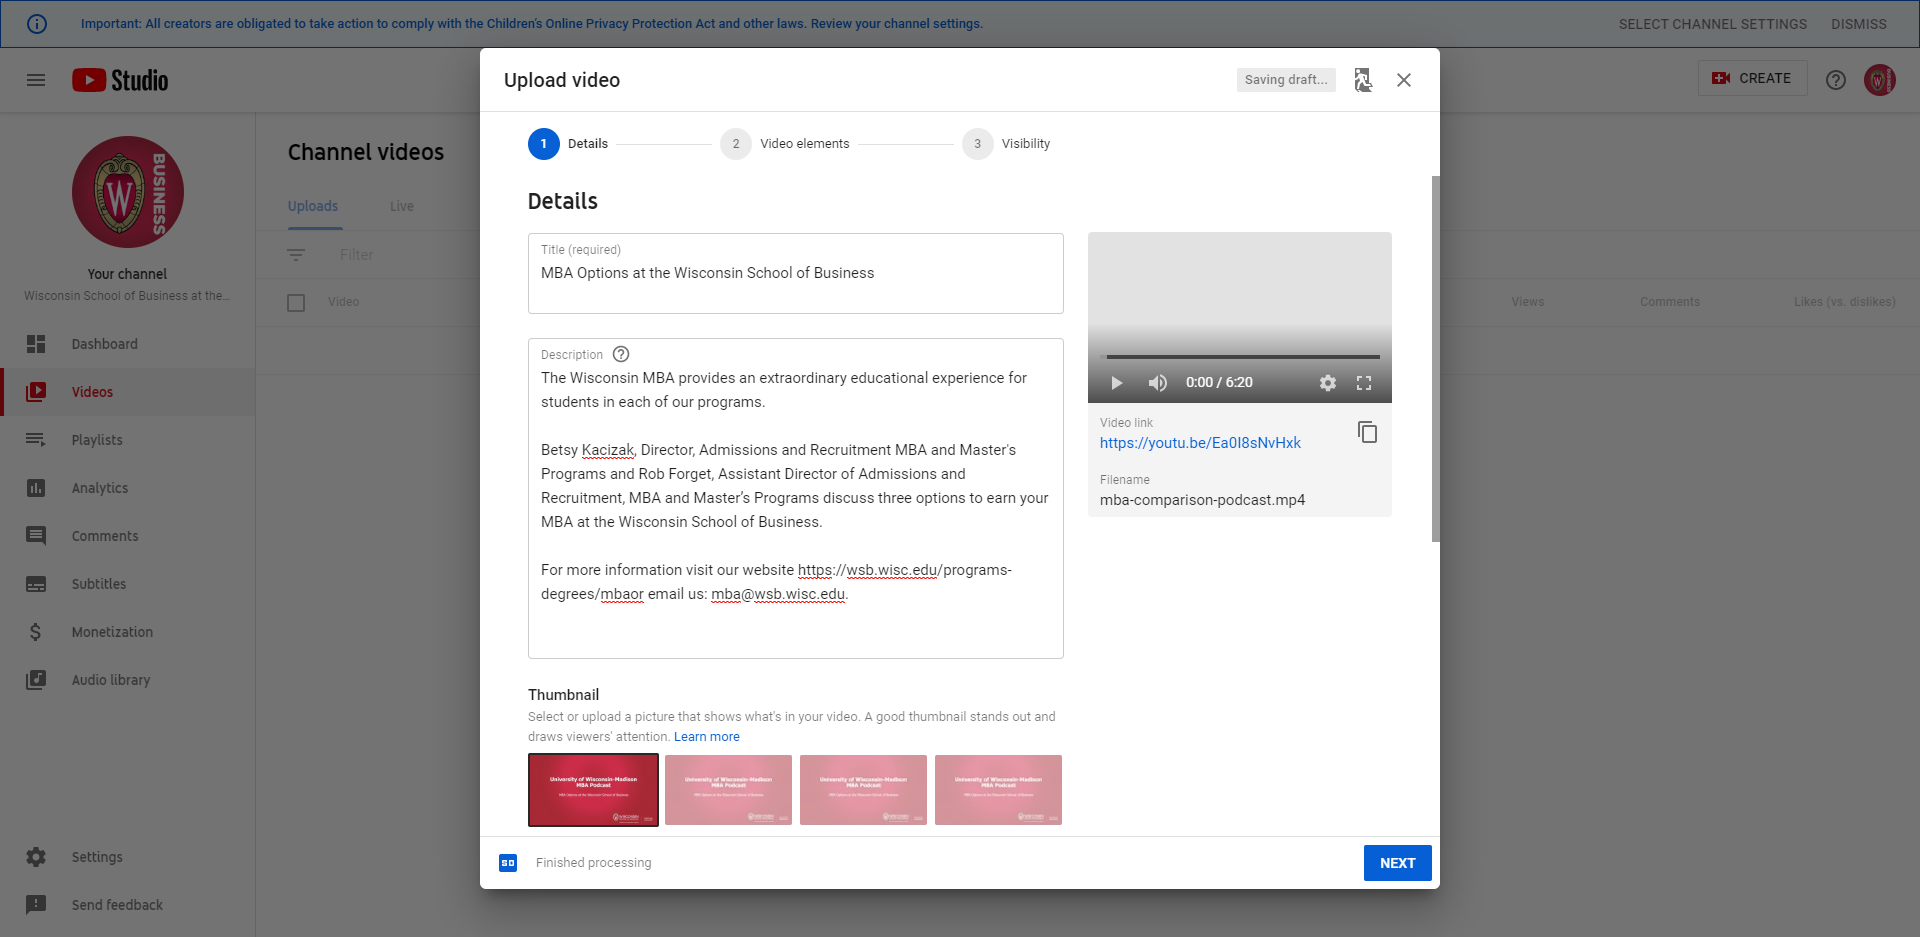
- Upload the MP4 Video File to YouTube
- Add the provided “Title” and “Description”
- Add the custom Video thumbnail
- Select “No, It’s not made for kids”
- Click “Next” and “Next Again
- Under Visibility > Publish Now set the video to be “Unlisted”
- Click “Done”
- The share link can be used to share the video with your audience.
- To add a video link to the WSB website, submit a web ticket with your request. The web team will add the video link/embed for you if the request is approved.
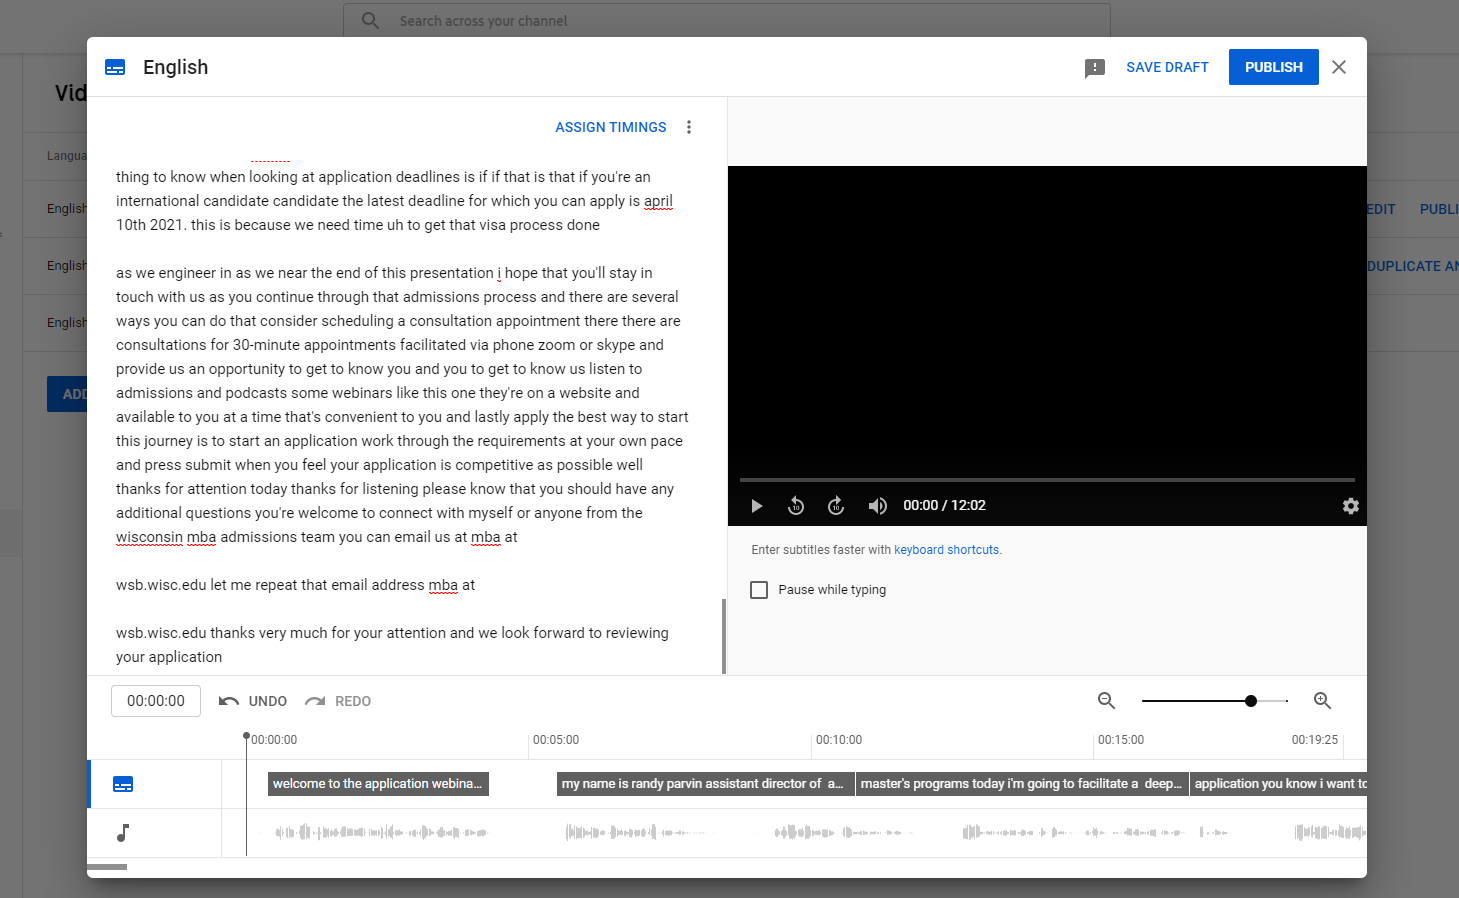
Edit Captions (required)
Captions: For accessibility purposes, we must include captions in videos. Youtube automatically generates captions, but these are imperfect and must be reviewed and edited. Youtube may take some time to generate them (wait a few hours, usually no more than a day, after uploading the video). Once captions are generated, note any edits you need to make, and then do the following:
- Login into the WSB Youtube account (see above)
- Click on your account icon in the upper right corner and select YouTube Studio.
- Find the video in the Video section you want to edit and click on the video
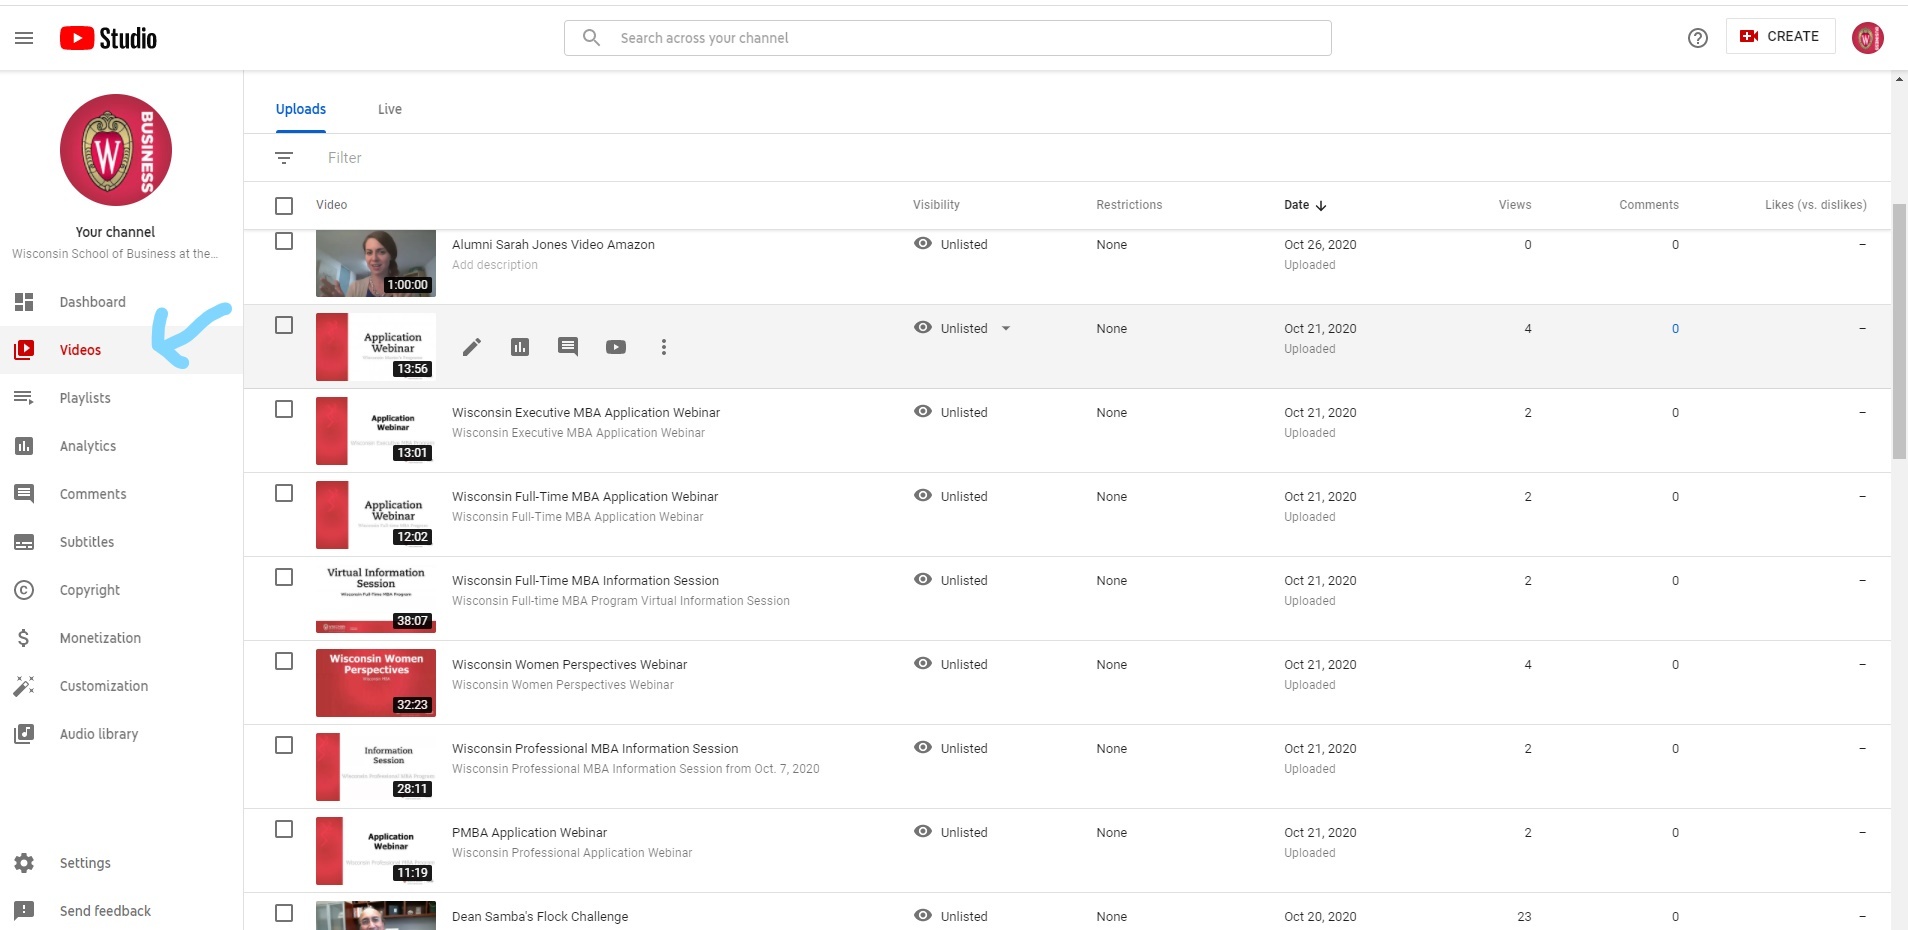
- Then select "Subtitles" from the left sidebar
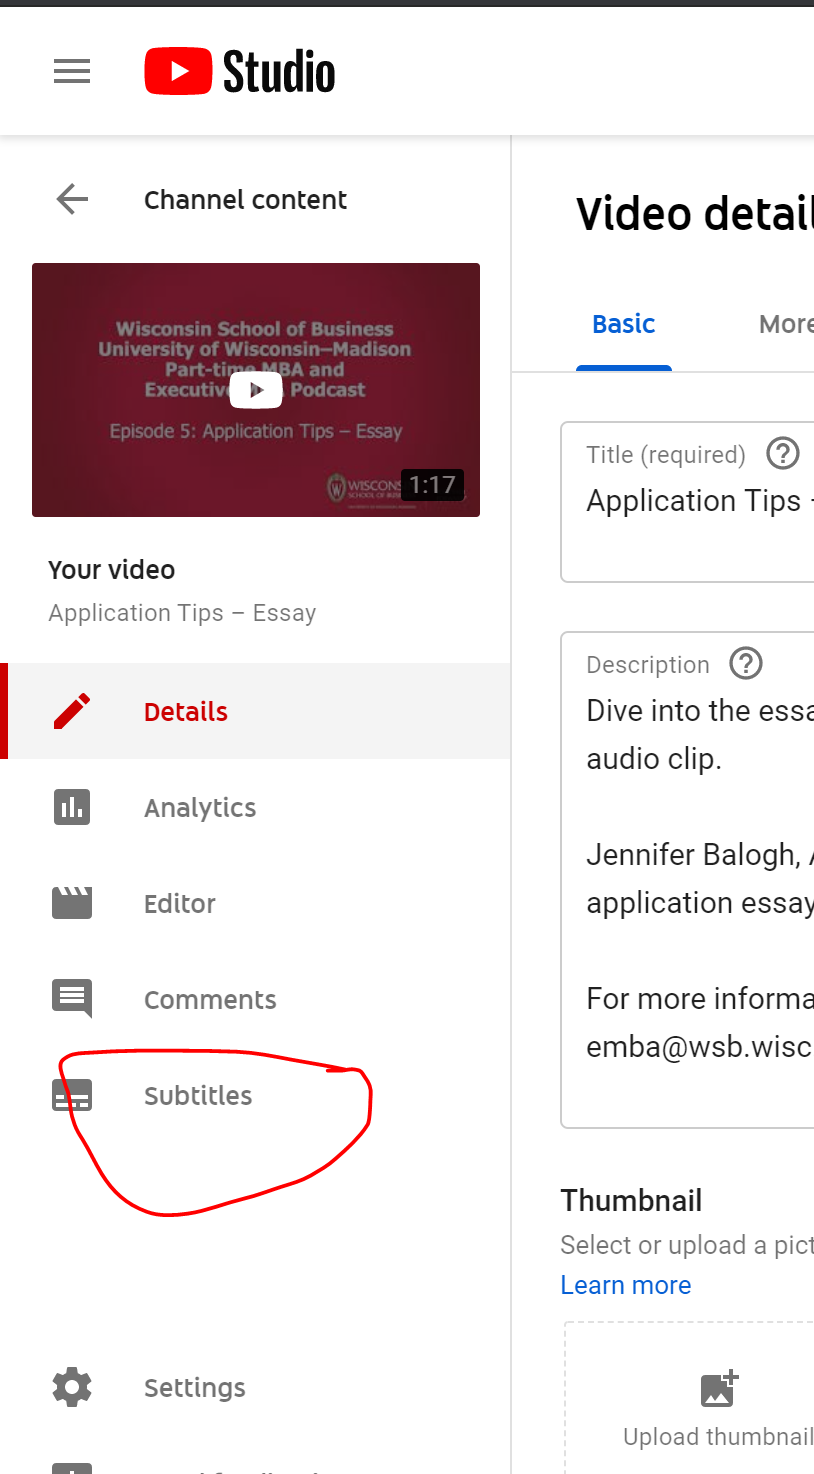
- Select Duplicate and Edit
s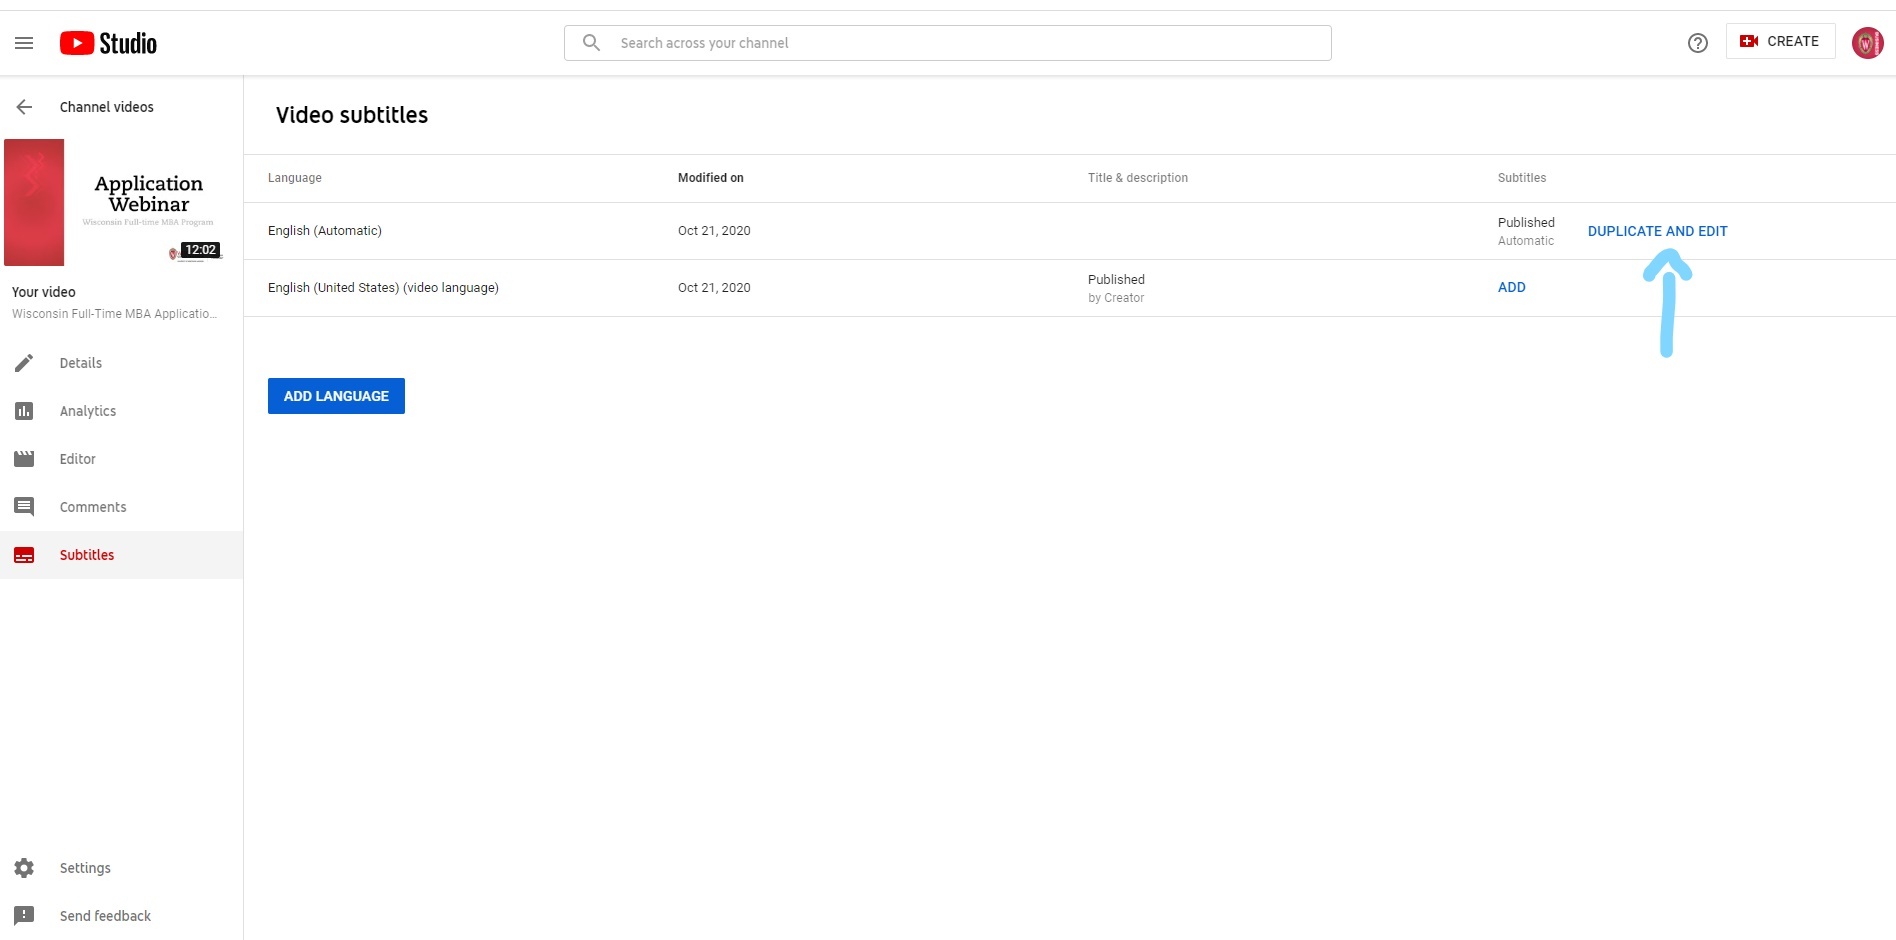
- From here you will be able to make any changes to the captions. Click Publish when you're done and changes will be published!
Add Videos to Relevant Playlists
For the best user experience, always add your videos to relevant YouTube playlists on our channel. Be sure to share the playlist link when sharing the video, so the user can see other relevant WSB videos to the right of the video, rather than recommendations from other channels.
- Navigate to studio.youtube.com
- Choose Content in the left menu
- Find the video(s) you want to add to a playlist and select them (the search function is very helpful for this!)
- Choose Add to Playlist and find the playlist(s) you want. Then Save your changes
Sharing/Linking to Videos
- Be sure to share the playlist link when sharing a video, so the user can see other relevant WSB videos to the right of the video, rather than recommendations from other channels.
- For example, this link https://www.youtube.com/watch?v=jD6hT3bc0ik&list=PLXuX4rqL8Z3Y7jVOGLrhsmQh_g_7vK6SU&index=2 shows that nice playlist on the side with more WSB videos. As opposed to https://www.youtube.com/watch?v=IykFsyM787I which doesn’t include the playlist.
- Tip: Look for "&index=__" in the URL; that indicates it links to a video within a playlist.
- Remove "&t=__" from the end of the URL. This indicates a time stamp and will cause the video to start playing at that timestamp, rather than the beginning of the video.